Add Afterpay at Checkout
Important
There are two different Afterpay payment apps for Shopify—one for the United States, the other for the rest of the world. This page is for merchants outside of the US. If you’re in the US, visit this page.
Before you start, ensure that you have Shopify installed and working.
Overview
The Afterpay integration process can be completed in three steps:
Download the Afterpay payment app
Do the following:
- Click here to log in to Shopify and download the Afterpay app.
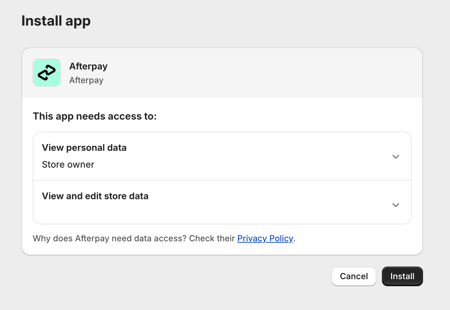
- When the Install app screen appears, click Install.
- Once installed, Afterpay appears in your list of apps.
Connect your Business Hub account
After you’ve installed the Afterpay app, you’re automatically redirected to the Business Hub to verify your merchant account.
Follow these steps to connect your account:
Step 1: Log into Business Hub
If you’re not already logged in, log into your Business Hub user account.
Important
If you have trouble accessing your Business Hub account, try resetting your password. If you need an account to be created, contact your team’s main internal onboarding contact.
Step 2: Select your merchant account
From the dropdown menu, select the merchant account that should be associated with your storefront. Ensure that it’s the correct account for your specific Shopify store.
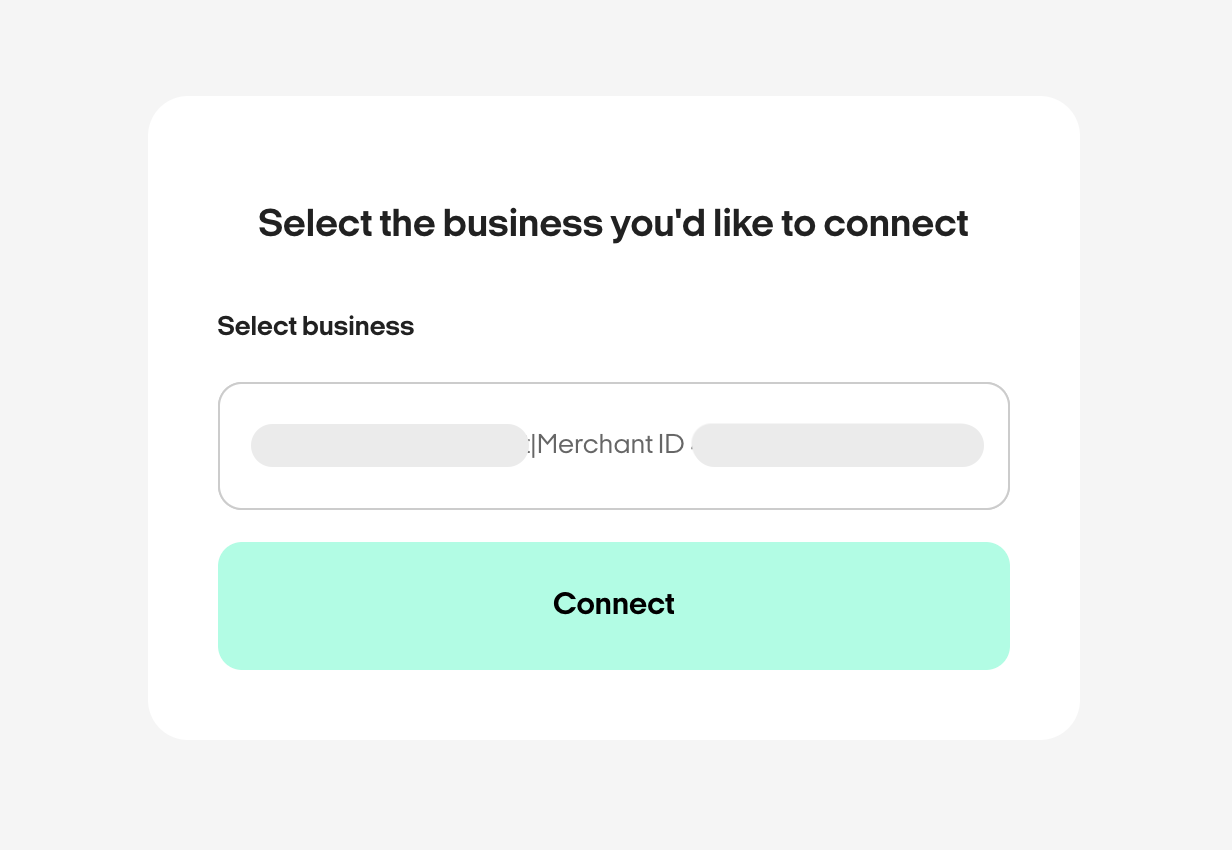
Step 3: Connect the account
Click the Connect button to link your Business Hub merchant account to Shopify. Once the connection is successful, you’re automatically returned to Shopify.
Confirm and activate
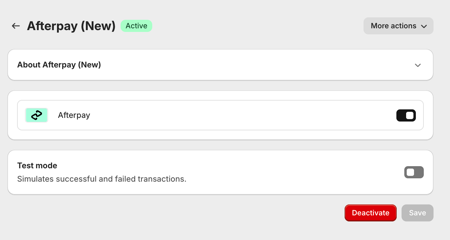
After successfully verifying your credentials, you return to Shopify. A screen appears with two toggle switches and a More actions menu. Do the following:
-
Activate the payment gateway. Keep Test mode inactive, and click Activate. This screenshot shows the result:
Warning!
Do not enable Test mode. If you enable Test mode, the integration fails. The Enable test mode function is only for use on dedicated test websites. Contact your Afterpay Account Manager if you need test credentials.
-
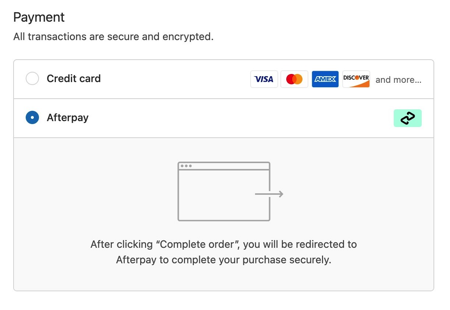
Go to your online store and verify that Afterpay is a checkout option.
Manage your merchant integration
If you ever need to change which merchant account is connected to your Shopify store, follow these steps:
- In your Shopify admin, go to Settings, then Payments.
- Select the Afterpay (New) payment app.
- Click More actions, then Manage. This takes you to the Business Hub, where you can select a different merchant account.
- Choose the new account you want to use and click Connect.