Manually Add Afterpay Site Messaging to Theme

How can I add Afterpay Site Messaging to my Shopify product and cart pages?


The Afterpay Code Snippet allows you, the merchant, to manually add Afterpay messaging to the product and cart pages. You do this by copy-pasting a code snippet into your Shopify liquid template file. This is a short procedure that consists of a few steps.

This page shows you how to do the following:

Configuration

Do the following to position the Afterpay site messaging onto the product and cart pages of your Shopify website:

  1. Copy the code below to your clipboard, a Copy to Clipboard icon in the top right corner makes this easy.
<!-- Begin Shopify-Afterpay JavaScript Snippet (v1.2.1) -->
{% if cart.currency.iso_code == shop.currency %}
<script type="text/javascript">
// Overrides:
// var afterpay_msg_size = 'sm'; // Can be 'xs', 'sm', 'md' or 'lg'.
// var afterpay_bold_amount = true;
// var afterpay_logo_theme = 'colour'; // Can be 'colour', 'black' or 'white'.
// var afterpay_modal_open_icon = true;
// var afterpay_hide_upper_limit = false;
// var afterpay_hide_lower_limit = true;
// var afterpay_show_if_outside_limits = true;
// var afterpay_product_integration_enabled = true;
// var afterpay_product_selector = '#product-price-selector';
// var afterpay_variable_price_fallback = false;
// var afterpay_variable_price_fallback_selector = '';
// var afterpay_variable_price_fallback_method = 'mutation'; // Can be 'mutation' or 'interval'.
// var afterpay_cart_integration_enabled = true;
// var afterpay_cart_static_selector = '#cart-subtotal-selector';
// var afterpay_variable_subtotal_fallback = false;
// var afterpay_variable_subtotal_fallback_selector = '';
// var afterpay_variable_subtotal_fallback_method = 'mutation'; // Can be 'mutation' or 'interval'.
// var afterpay_dynamic_cart_integration_enabled = false;
// var afterpay_dynamic_cart_selector = '.cart-drawer__footer .totals';
// var afterpay_dynamic_cart_observer_target = '#CartDrawer';
// var afterpay_footer_logo_enabled = true;
// var afterpay_footer_logo_format = 'icon'; // Can be 'icon', 'stacked' or 'logo'.
// var afterpay_footer_logo_theme = 'colour'; // Can be 'colour', 'black' or 'white'.
// var afterpay_footer_logo_background = 'border'; // Can be 'border' or 'transparent'.
// var afterpay_footer_logo_container = 'footer ul.payment-icons';
// var afterpay_footer_logo_template = '<li class="payment-icon"><object data="{logo_path}" type="image/svg+xml"></object></li>';
// Non-editable fields:
var afterpay_js_language = {{ localization.language.iso_code | slice: 0, 2 | json }};
var afterpay_js_country = {{ localization.country.iso_code | json }};
var afterpay_shop_currency = {{ shop.currency | json }};
var afterpay_cart_currency = {{ cart.currency.iso_code | json }};
var afterpay_shop_money_format = {{ shop.money_format | json }};
var afterpay_shop_permanent_domain = {{ shop.permanent_domain | json }};
var afterpay_theme_name = {{ theme.name | json }};
var afterpay_product = {{ product | json }};
var afterpay_product_collections = {{ product.collections | map: 'title' | join: ',' | json }};
var afterpay_current_variant = {{ product.selected_or_first_available_variant | json }};
var afterpay_cart_total_price = {{ cart.total_price | json }};
var afterpay_cart_skus = {{cart.items | map: 'sku' | join: ',' | json }};
var afterpay_cart_collections = {{cart.items | map: 'product' | map: 'collections' | map: 'title' | uniq | join: ',' | json }};
var afterpay_js_snippet_version = '1.2.1';
</script>
<script type="text/javascript" src="https://static.afterpay.com/shopify-afterpay-javascript.js"></script>
{% else %}
<!-- Afterpay disabled: {{ cart.currency.iso_code }} != {{ shop.currency }} -->
{% endif %}
<!-- End Shopify-Afterpay JavaScript Snippet (v1.2.1) -->
  1. Login to Shopify Admin

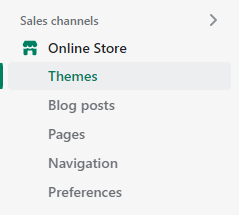
  2. Navigate to Themes. To do this, go to Sales channels > Online Store > Themes.
    shopify-ap-site-mess-1.png

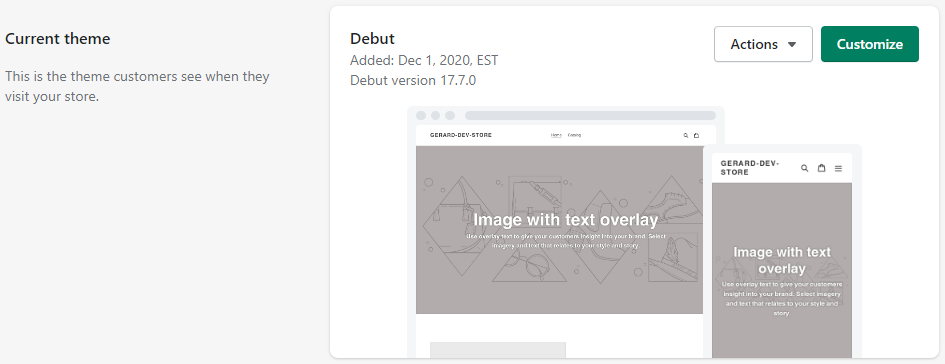
  3. Navigate to the current theme, then go to Actions > edit code.
    shop-ap-site-mess-2.png

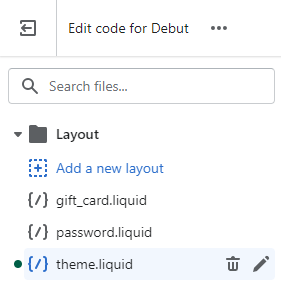
  4. Under the Layout folder, click theme.liquid. step5.png
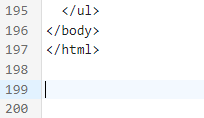
  5. Scroll to the bottom of the theme.liquid file:

    step5.png

  6. Paste the copied text (Step 1), at the bottom of the theme.liquid file:

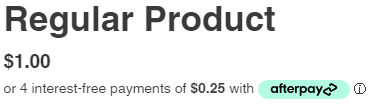
  7. Click Save, and go to the website to review the product and cart pages for Afterpay assets.
    shop-ap-site-mess-4.png

Note

Shopify have a help topic on editing Liquid files here.

Add an Afterpay Banner to Shopify

To add an Afterpay Banner to your Shopify page, follow the instructions here.

Add messaging to the dynamic or drawer cart

To add messaging to the dynamic or drawer cart, do the following:

  1. Follow all the Configuration steps above from step 1 to step 8.

  2. Navigate to your theme.liquid file.

  3. Find the required selector on the drawer cart.

  4. Add the selector to the code and enable the dynamic cart integration.

Example Code snippet for Afterpay US

// var afterpay_dynamic_cart_integration_enabled = true;
// var afterpay_dynamic_cart_selector = '.cart-drawer__footer .totals';
// var afterpay_dynamic_cart_observer_target = '#CartDrawer';

Example of code with selectors

var afterpay_dynamic_cart_integration_enabled = true;
var afterpay_dynamic_cart_selector = '.total';
var afterpay_dynamic_cart_observer_target = '#CartDrawer';

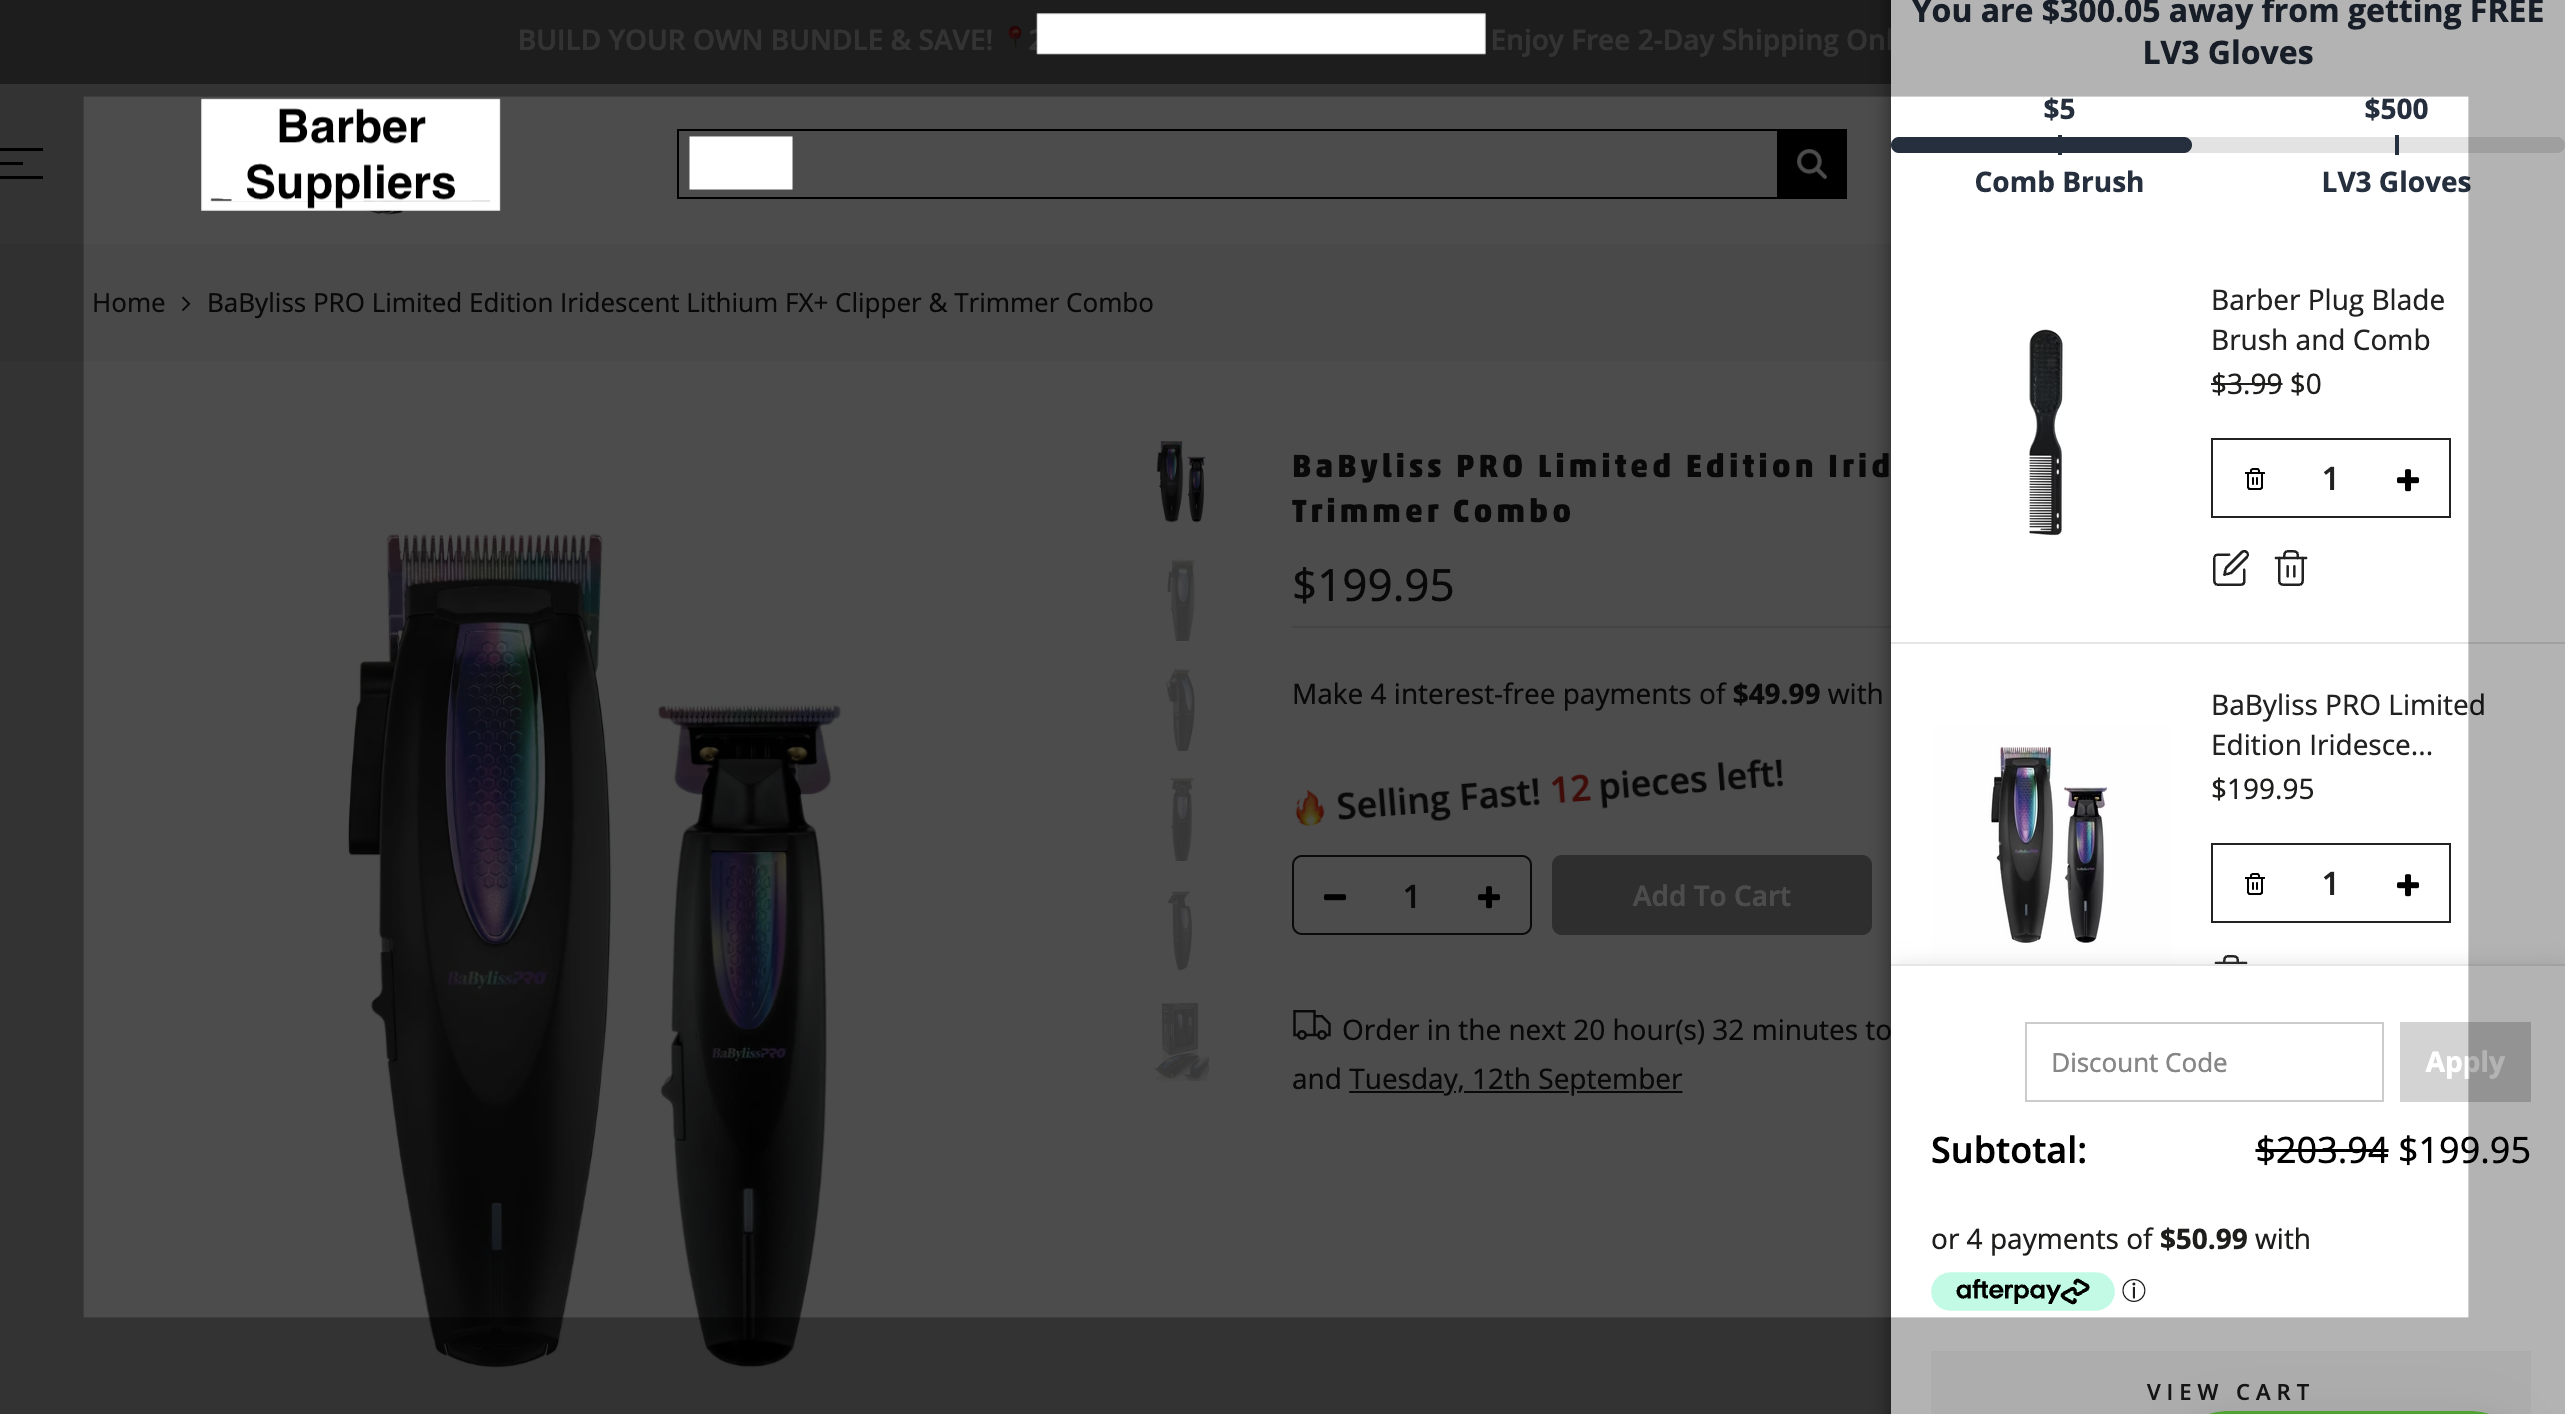
Example of the completed Sliding Cart

Completed sliding cart image redacted