

Get started with express checkout
Express checkout uses the same APIs as standard checkout. Before you configure integrated or deferred shipping, add an approved checkout button, create an express checkout token, and load Afterpay.js.
Add an express checkout button
The checkout button is the customer entry point for express checkout. Place it on a product page, mini-cart, or cart page.
You can use an Afterpay-provided button asset or create a custom button:
Use an Afterpay-provided button
Choose the appropriate Afterpay or Clearpay button from the integration assets and use the asset as supplied.
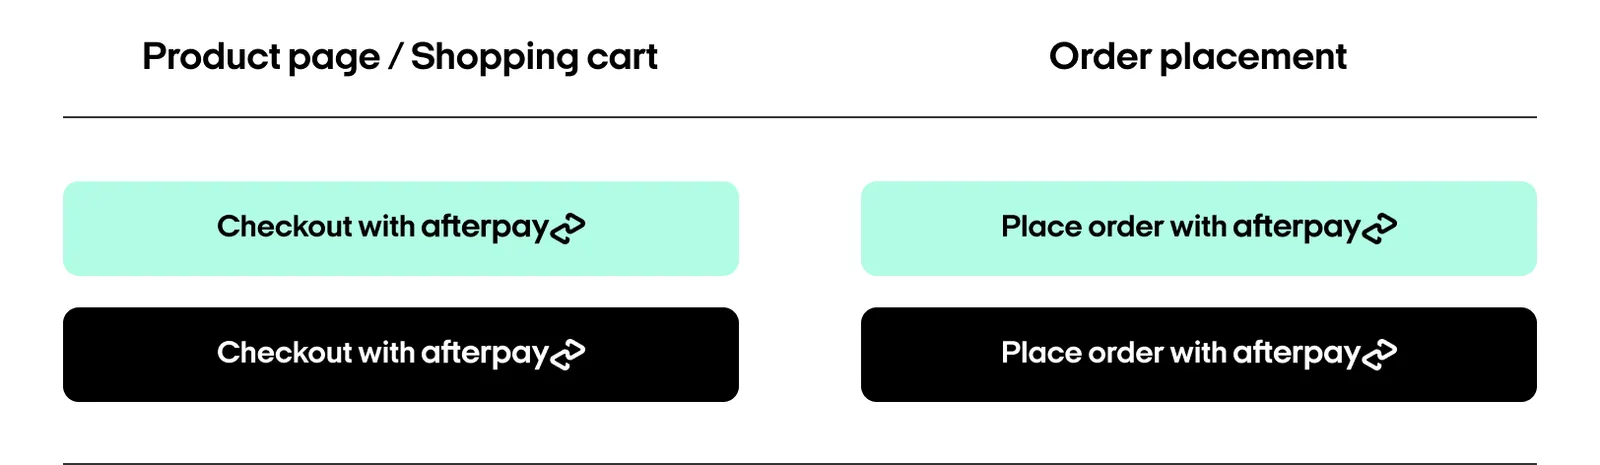
Add the asset inside a standard HTML <button> element. Each button must have:
- A unique
idthat Afterpay.js can target. - A
data-afterpay-entry-pointvalue ofproduct-page,mini-cart, orcart. - A
data-afterpay-checkout-button-labelthat identifies the button for analytics.
Use a custom button
You can build a custom button instead of using a provided asset. The button must follow the Afterpay brand guidelines and must be reviewed and approved by Afterpay before you use it in production. Contact your Afterpay account manager or merchant services representative to request approval.
Use the same id, data-afterpay-entry-point, and data-afterpay-checkout-button-label attributes shown in the provided-button example.
Target multiple checkout buttons
If a page has multiple express checkout buttons, assign the same class to each button:
Then use the class as the target in your shipping flow’s Afterpay.js initialization:
Create an express checkout
Create an order token by following the Create a checkout guide. The request specifies the order amount, items, and other order details.
Create the token on your backend when the customer clicks the express checkout button. A new token is required for each order. If you store the token, support arbitrary string length and content because its format can change.
For express checkout:
- Set
modetoexpress. - For a popup flow, set
merchant.popupOriginUrlto the origin that launches the popup. - For a deferred redirect flow, set
merchant.redirectConfirmUrlandmerchant.redirectCancelUrlinstead. See Deferred Shipping.
To let the customer save Afterpay as a payment method during express checkout, see Request Afterpay On File during express checkout.
Load Afterpay.js
Both shipping guides define an initAfterpay() function. Define that function before loading Afterpay.js, then set the script’s onload attribute to call it:
Choose a shipping flow
Continue with the shipping flow that matches your checkout: