Configure Afterpay
How to Configure Afterpay
From the Solidus home page, do the following:
-
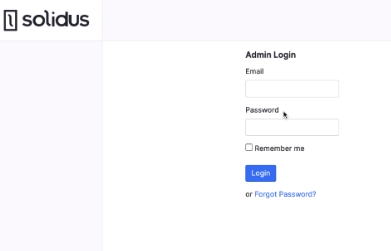
Go to the Admin Panel, to do this, enter /admin at the end of the home page URL. You are redirected to the Admin Login page.
-
Enter your login credentials and click Login.
-
Click Settings on the left side menu, a sub-menu appears.
-
Click Payments, a list of available payment methods appears.
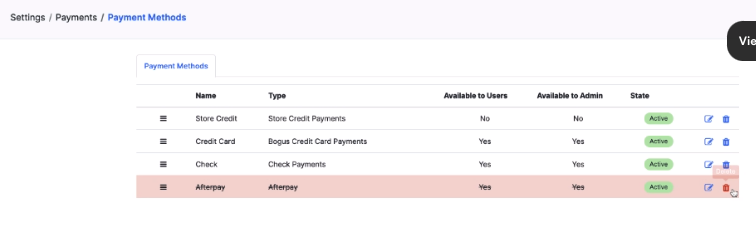
- Click New Payment in the top right corner, the Payment Methods tab appears.
The Payment Methods Tab
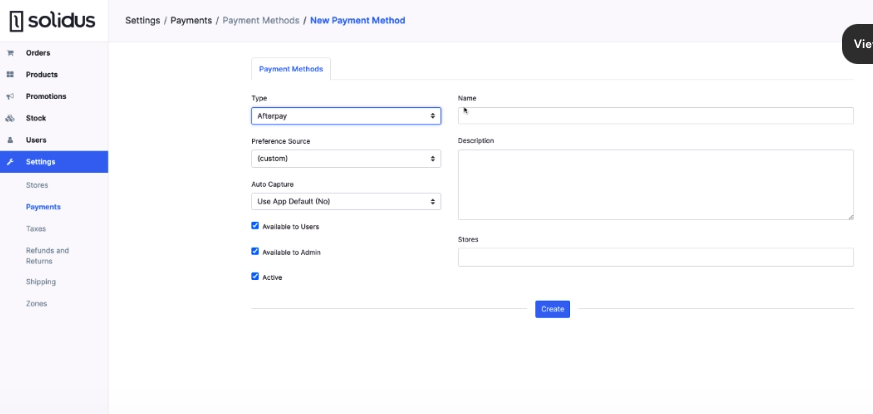
Complete the following fields:
-
Type - Select Afterpay
-
Name - This can be anything you want, it’s an internal name for the payment method. “Afterpay” is a good choice.
-
Description - An optional field, enter what you want here.
-
Preference Source - Leave this field as custom.
-
Auto Capture - This is an automatic payment capture feature. Leave it on the default setting that is Use App Default (No).
-
Available to Users - Enable this checkbox to make Afterpay available to customers when the configuration is complete. But see step 8 below.
-
Available to Admins - Enable this checkbox to make Afterpay available to Solidus administrators when the configuration is complete. But see step 8 below.
-
Active - Enable this checkbox to make Afterpay available for use when the configuration is complete. You can set the type of customer in steps 6 and 7 above.
-
Stores - Enter the name or names of the store or stores where Afterpay will be offered. This is an optional field.
-
Click Create. The final set of fields appear, see the section below for instructions.
Final Configuration Fields
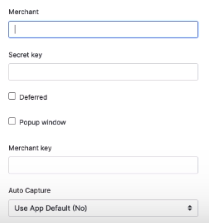
Complete the following final fields:
-
Merchant - Enter your Afterpay Merchant ID.
-
Secret Key - Enter your Afterpay secret key.
-
Deferred - Enable this checkbox to offer Afterpay as a deferred payment.
-
Popup window - Enable this checkbox to display Afterpay in a popup window. If you do not enable the checkbox, your customers are redirected to the Afterpay website.
-
Merchant Key - Enter your Afterpay merchant key.
-
Auto Capture (No) - This is an automatic payment capture feature. The default setting is No.
-
Click Update. Afterpay is now configured to work with Solidus.