Ecorner
Afterpay Gateway Configuration
If you have registered and been approved to support customers from both Australia and New Zealand at the same time, you will need repeat these steps twice, once for each region.
Completing the steps below to enable the display of Afterpay as a Payment Method and the Afterpay assets on the product pages.
- Login to the eCorner Merchant Backoffice.
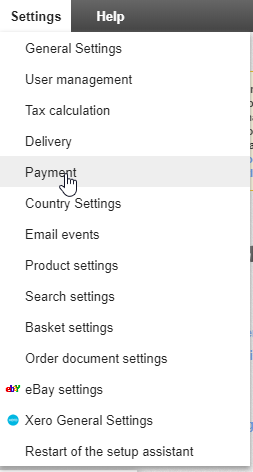
- Go to Settings > Payment.
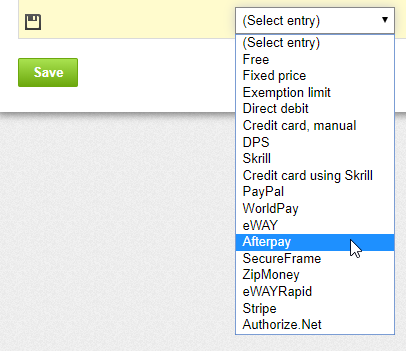
- Underneath the Payment method Column, Click (Select entry). Select Afterpay from the list.
- Underneath the Name in shop Column, enter the text Afterpay.
Note
If approved for multiple regions, please enter either Afterpay Australia or Afterpay New Zealand instead of just Afterpay.
Example of the Afterpay fields entered:

-
Click Save.
-
Once you click Save, a caution triangle and the words Complete it appear. Click Complete it.
![]()
- You are redirected to the Settings tab, please enter the details in the table below.
Your Afterpay contact will provide you with your Merchant ID and Merchant Secret Key. Each Key can only be used for the relevant Afterpay Region.
-
Click Save.
-
Go to the General tab.
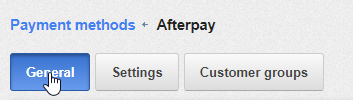
- Once you have been redirected to the General Tab, enter the details in the table below.
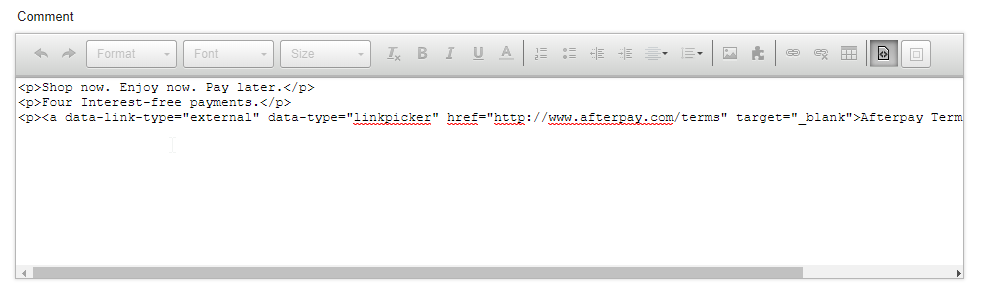
- Underneath the Comment section there is a text editor with a line of icons. Please click the second last button, named Source.

- Select, then copy and paste it in to the Comment Box:
If completed correctly, it will look like this:
- Scroll down and click Save.
Afterpay should now be installed and available for use by customers. Afterpay should appear on the product pages and appear as a payment option on the checkout page.
Supported Countries
-
🇦🇺 Australia
-
🇳🇿 New Zealand