Website World Gateway Configuration
Configure Afterpay Payment
Completing the steps below will enable the display of Afterpay as a Payment Method and will also display the Afterpay assets on the product pages.
- Log in to the Website Builder Admin Dashboard.

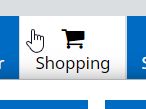
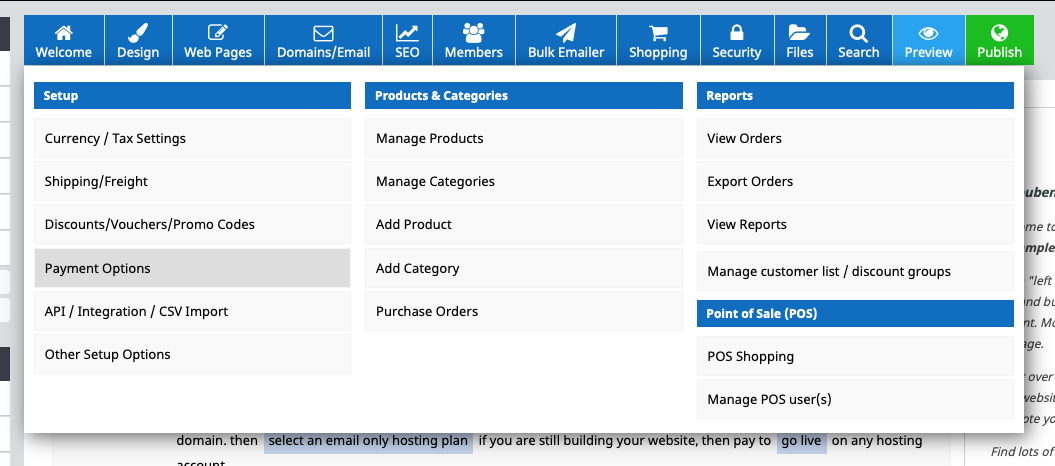
- Hover over ‘Shopping’.

- Navigate to ‘Payment Options’.

- Scroll down to ‘Add a Payment Plan Option’.
Next to Afterpay, select ‘NZ, AU, US’.

- Enter the Merchant ID and Secret Key supplied by Afterpay.

- Select the ‘Test Mode’ field.
Click on ‘Production Mode (Live)’

-
Select ‘Check Configuration’.
-
A notification will appear, displaying ‘Afterpay Configuration is good.’.

Note
Please contact Afterpay if you have any questions about the Minimum and Maximum Transaction Values.
- Click ‘Save Changes’.
Afterpay should now be ‘Enabled’.
Afterpay should now be installed and available for use by customers.
Afterpay should also appear on the product pages and as a payment option on the checkout page.