Afterpay Gateway Configuration
Install Afterpay APP
Completing the below steps will enable Afterpay as a Payment Method and display the Afterpay assets on the product pages.
- Login to your eCommerce Store
- Navigate to _Apps _
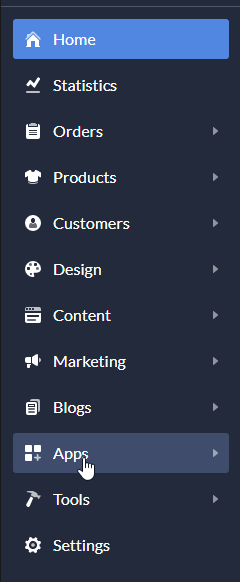
- Enter ‘Afterpay’ in the search field at the top right

-
Click Install
-
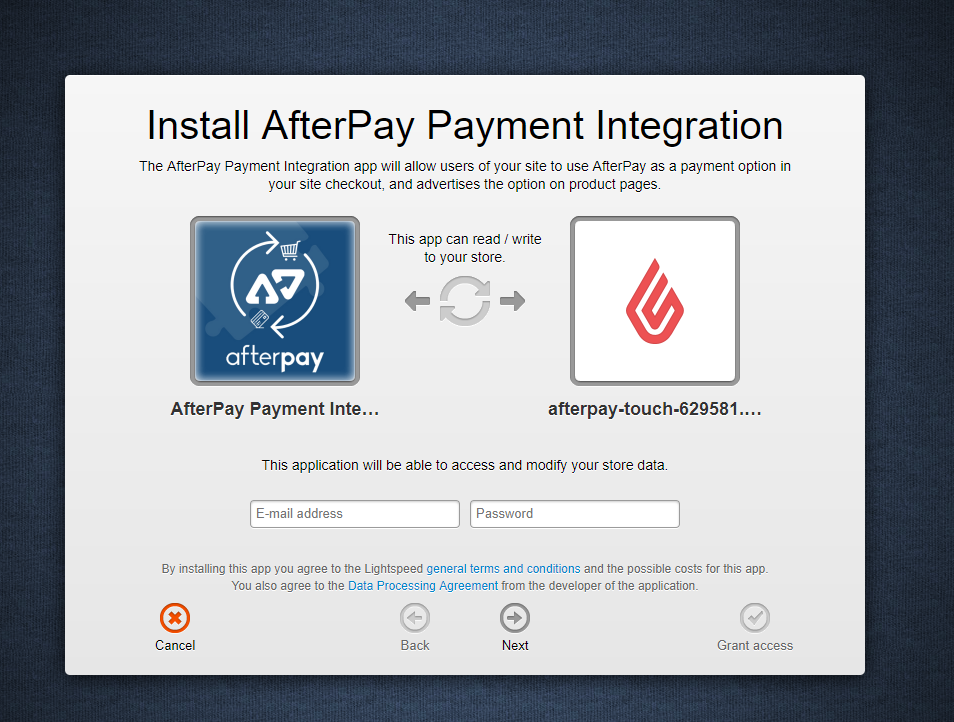
You will be asked to ‘Install Afterpay Payment Integration’
-
Enter your Website Username/ Password
-
Click ‘Next’
-
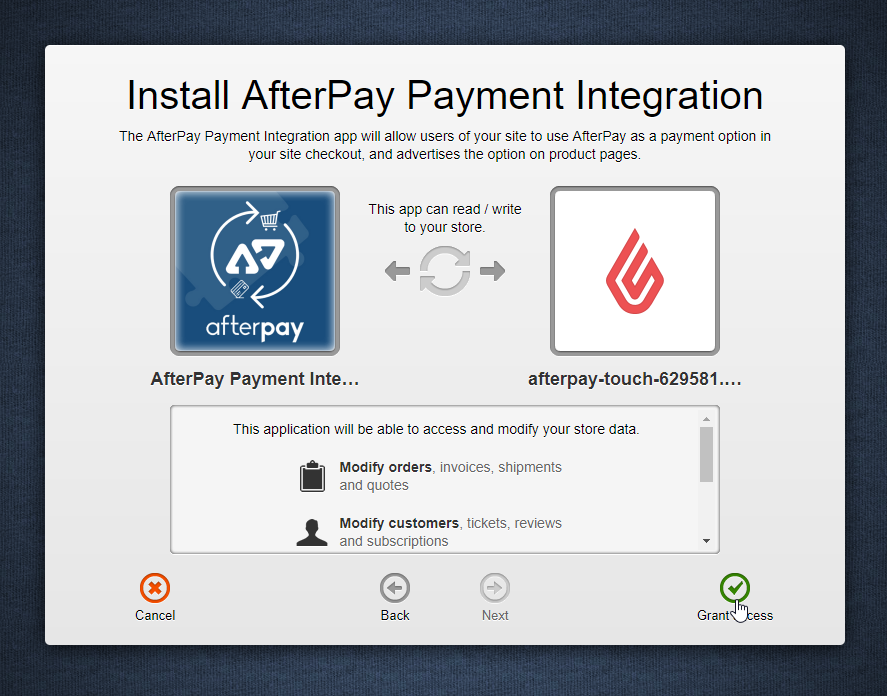
- Notification of Plugin required access appears:
- Review access requirements
- Click ‘Grant Access’
-
Login or Create a New AdVision Lightspeed eComm App account (if you don’t have one).
- Click ‘Login’ or ‘Register now’
-
You will be redirected to the Afterpay Payment Gateway settings page.
- If not, Navigate to Apps > Purchased Apps > Afterpay Payment
App Configuration
If you’re not already on the configuration panel, to get to your Afterpay APP configuration panel.
-
Login to your eCommerce Store.
-
Navigate to Apps > Purchased Apps > Afterpay Payment.
-
Click on Afterpay Payment Integration.
-
Click go to APP at the top right.
Next, follow the steps below to complete your configuration.
-
Enable the “Active” Checkbox ( to the right of the first APP option )
-
Scroll down and use the Afterpay Setup Values and Page Values to configure your APP.
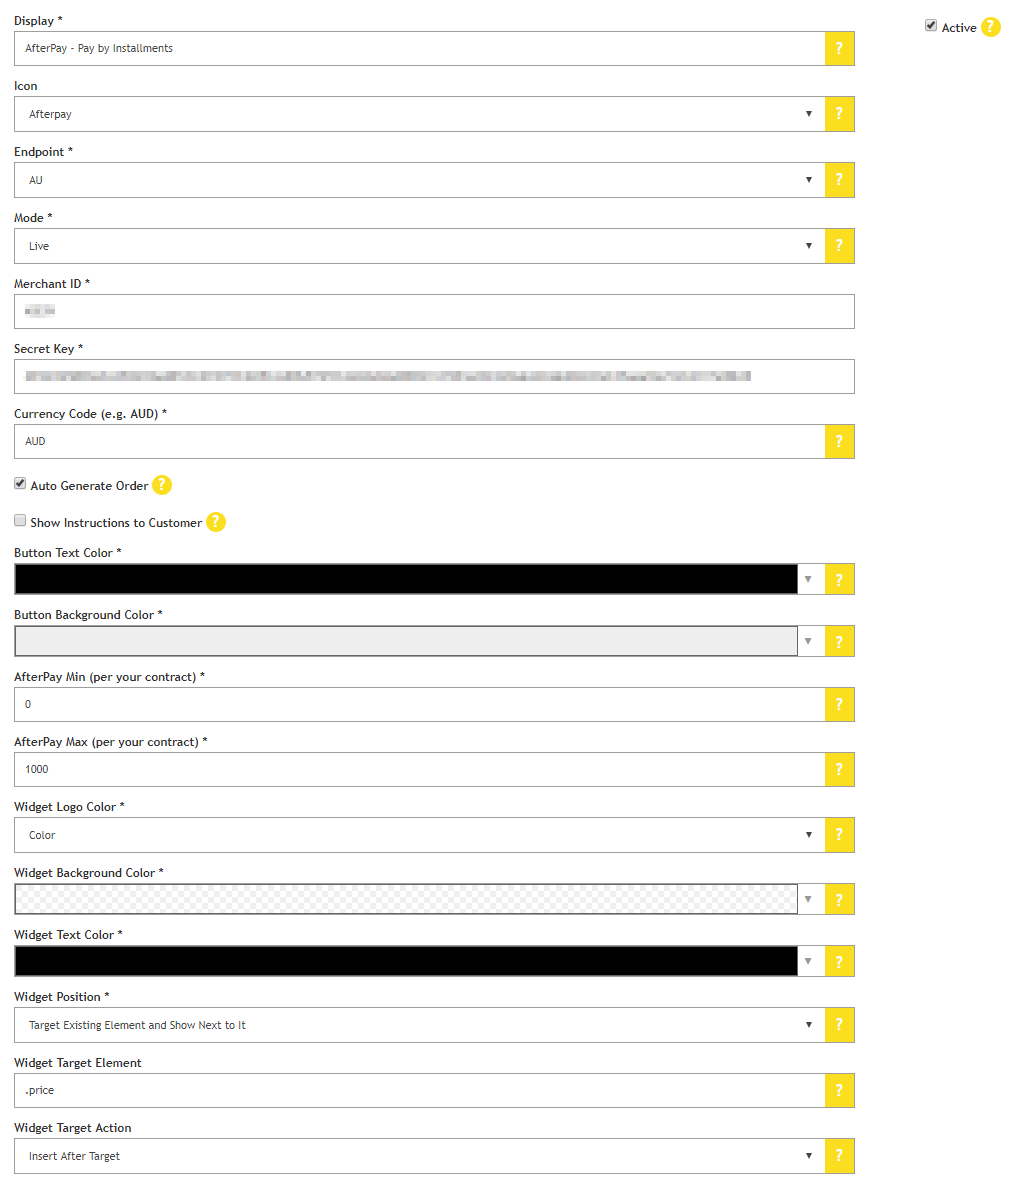
Afterpay Setup Values
*If non-recommended options are used, this may result in Afterpay requesting you to update the settings to meet the Afterpay Branding or Integration Guidelines.
Example of the APP Configuration Panel completed.
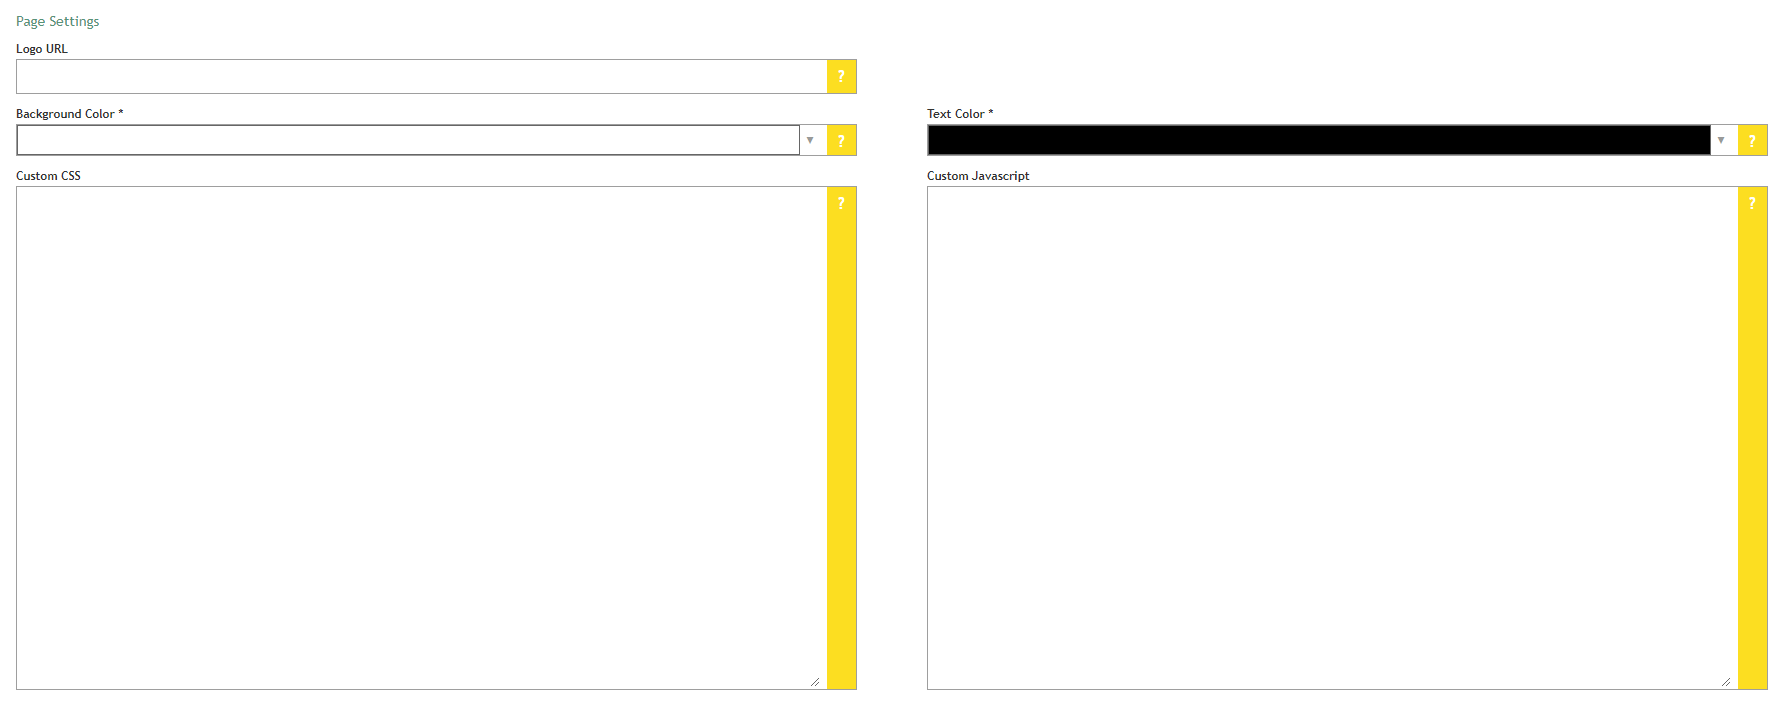
Page Settings
These can all be left blank.
Here is an example of how the Page Settings will look
Final Steps
Once all details have been entered:
-
Scroll to the bottom and click ‘Save Settings’
-
Scroll to the bottom again and click ‘Check Install (Publish Changes)’.
A banner appears advising the Install has been checked.
![]()
Afterpay should now be installed and available for use by your customers.
Afterpay should also appear on the Product Pages and as a payment option on the Checkout Page.