Afterpay Gateway Configuration
Configure Afterpay Payment
Completing the steps below will enable the display of Afterpay as a Payment Method and will also display the Afterpay assets on the product pages.
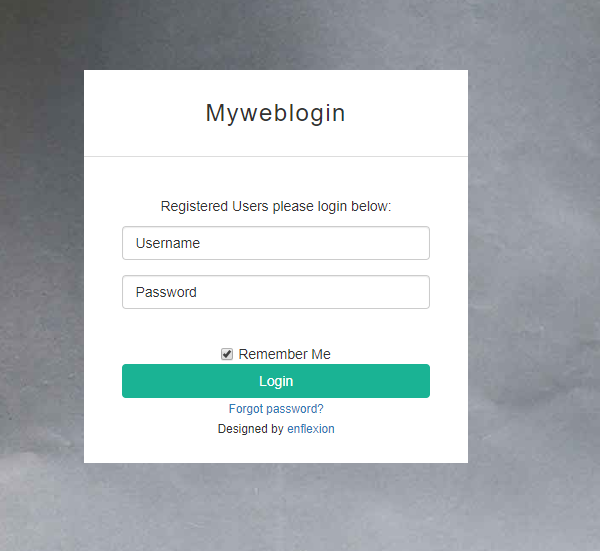
- Login to the Enflexion Admin Dashboard.

-
Navigate to your website and click on ‘Log into your website’
-
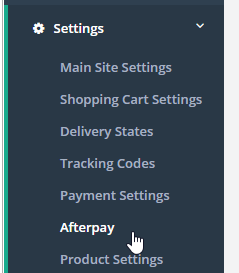
Navigate to ‘Settings -> Afterpay’.

-
Click ‘Use Afterpay’.
-
Enter in the Merchant ID.
This is provided in the initial email from Afterpay

- Enter in the Secret Key.
This is provided in the initial email from Afterpay

-
Enter in ‘0’ for ‘Minimum Order’.
-
Enter in ‘1000’ for ‘Maximum Order’.
Do not put in different values as this may cause your integration to fail.

- In the ‘Production or Sandbox’ Field, Select ‘Production’.

- In the ‘Afterpay Content Page’ Field, Select ‘Accept AfterPay | Flower Store in a box’.

-
Afterpay requires some steps to be completed by Enflexion. Please contact info@enflexion.com.au to request the final steps to be setup.
-
Once Enflexion have completed their steps, the setup is completed.
Afterpay should now be installed and available for use by customers.
Afterpay should appear on the Product Pages and as a payment option on the Checkout Page.