Rocketspark Gateway Configuration
Configure Afterpay Payment
Complete the steps below to enable the display of Afterpay as a payment method and display the Afterpay assets on your product pages.
- Log in to the Rocketspark Website Admin Portal.

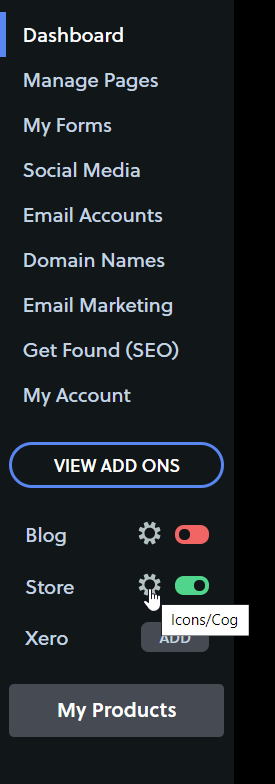
- Navigate to ‘Store -> Settings’.

-
Select the ‘Cog’ icon next to ‘Store’.
-
In the menu, select ‘Payment Gateway’.

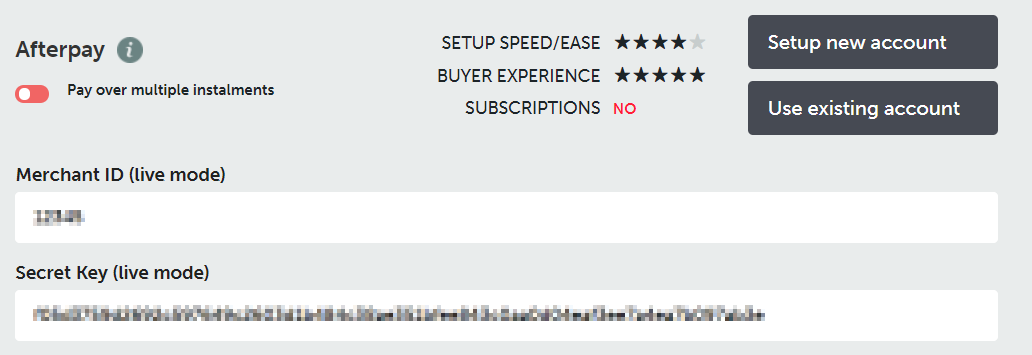
- Scroll down and find ‘Afterpay’. Select ‘Use existing account’.

- Enter the Merchant ID in to the Merchant ID (live mode) field.

- Enter the Secret Key in to the Secret Key (live mode) field.

-
Select ‘Save Changes’.
-
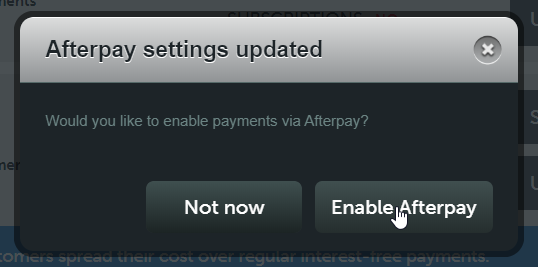
Select ‘Enable Afterpay’.

The ‘Toggle’ next to ‘Pay over multiple instalments’ will now be green.

Afterpay should now be installed and available for use by customers.
Afterpay should appear on the Product Pages and as a payment option on the Checkout Page.