Kynect Gateway Configuration
Configure Afterpay Payment
Completing the steps below will enable the display of Afterpay as a Payment Method and will also display the Afterpay assets on the product pages.
- Log in to the Kynect B2C Admin Dashboard.
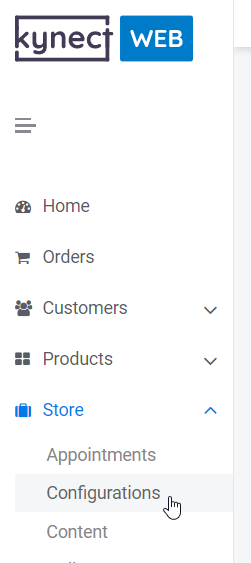
- Navigate to ‘Store -> Configurations’
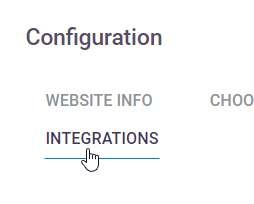
- Select the ‘Integrations’ Tab
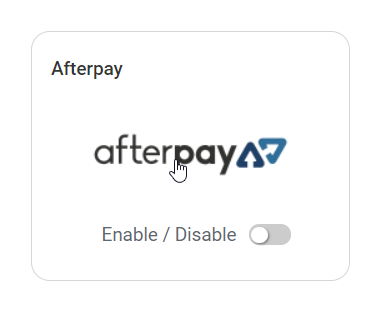
- Click on the ‘Afterpay Logo’
- Select the ‘Afterpay Environment’ field.
Click on ‘Production’

- Enter the Merchant ID and Secret Key supplied by Afterpay.

-
Select ‘Check Limits’
-
The Afterpay Order Min and Order Max will now contain values.

-
Click ‘Save’
-
Afterpay should now be ‘Enabled’
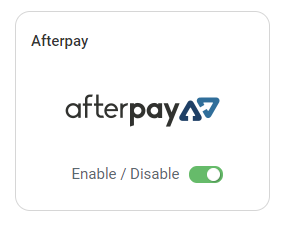
Afterpay should now be installed and available for use by customers.
Afterpay should also appear on the product pages and as a payment option on the checkout page.