Afterpay Gateway Configuration
Configure Afterpay Payment
Note
If you have registered and been approved to support customers from Afterpay Australia, New Zealand, United States, and Clearpay UK at the same time, you must repeat these steps multiple times, once for each region.
The Clearpay steps are separate and can be found here: developers.clearpay.co.uk/v-1/ecwid-gateway-configuration
Completing the steps below will enable the display of Afterpay as a Payment Method and will also display the Afterpay assets on the product pages.
- Log in to the Ecwid Website Admin Portal.
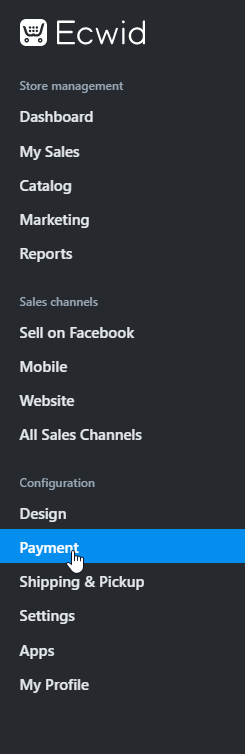
- Navigate to ‘Configuration -> Payment’
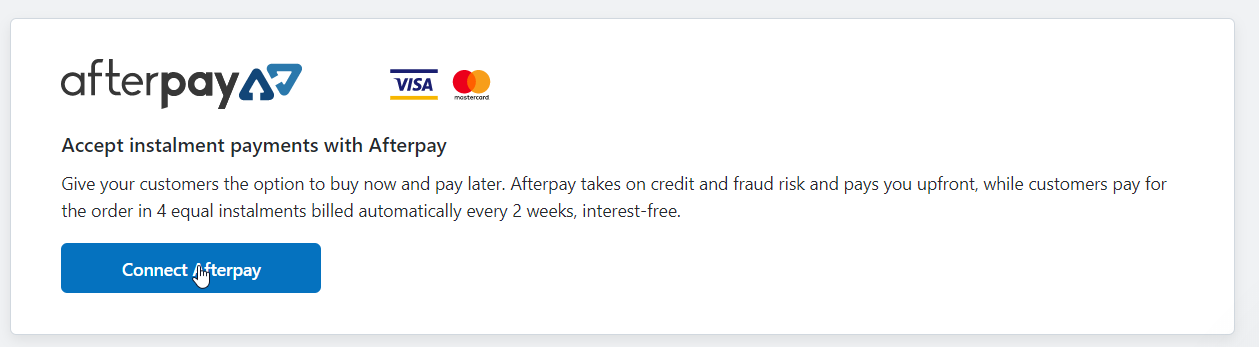
- Scroll down until you see Afterpay. Click ‘Connect Afterpay’.
- Enter the Merchant ID and Secret Key supplied by Afterpay. Ensure ‘Test transactions (no real charges)’ is set to Disabled.
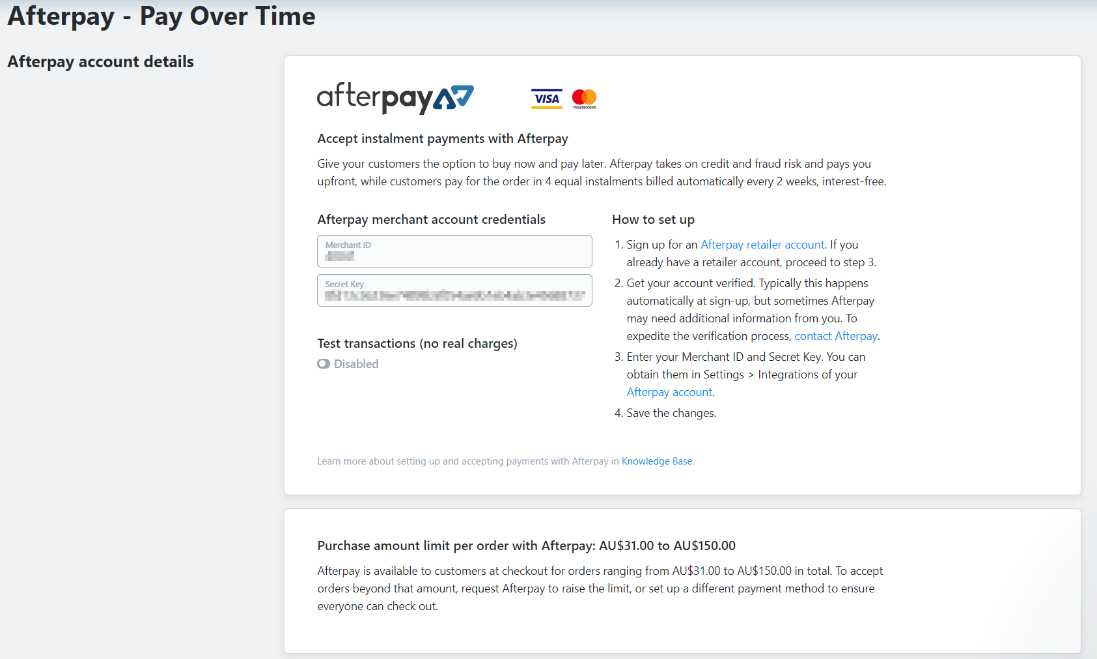
4.1 **Do not **click ‘Test transactions (no real charges)’
Please double check this option, it should look like the picture below:

- Update the ‘Appearance Options’ text. Insert Text: “Afterpay - Shop Now. Enjoy Now. Pay Later.”

-
Set ‘Enable this payment method at checkout’ to Enabled.
-
Click ‘Save’.
Afterpay should now be installed and available for use by your customers.
Afterpay should also appear on the Product Pages and as a payment option on the Checkout Page.